Overview
Microsoft Teams is an easy way to pull together a group to share, collaborate and communicate in one central location without the use of phone calls that take time away from our day or emails that can easily get buried. From directly within Teams we can bring everyone together to share information, securely edit files live and at the same time, bring together Microsoft Office 365 apps (OneDrive, OneNote, Planner, Forms, etc) and third-party apps and websites in one place, tag members of the team in conversations or actions and customize the work through adding notes (OneNote and others) and other applications.
Here is a quick overview of how to share the content you wish to share with others in a Teams meeting.
For additional information visit: Use meeting controls in Microsoft Teams - Microsoft Support
Present content
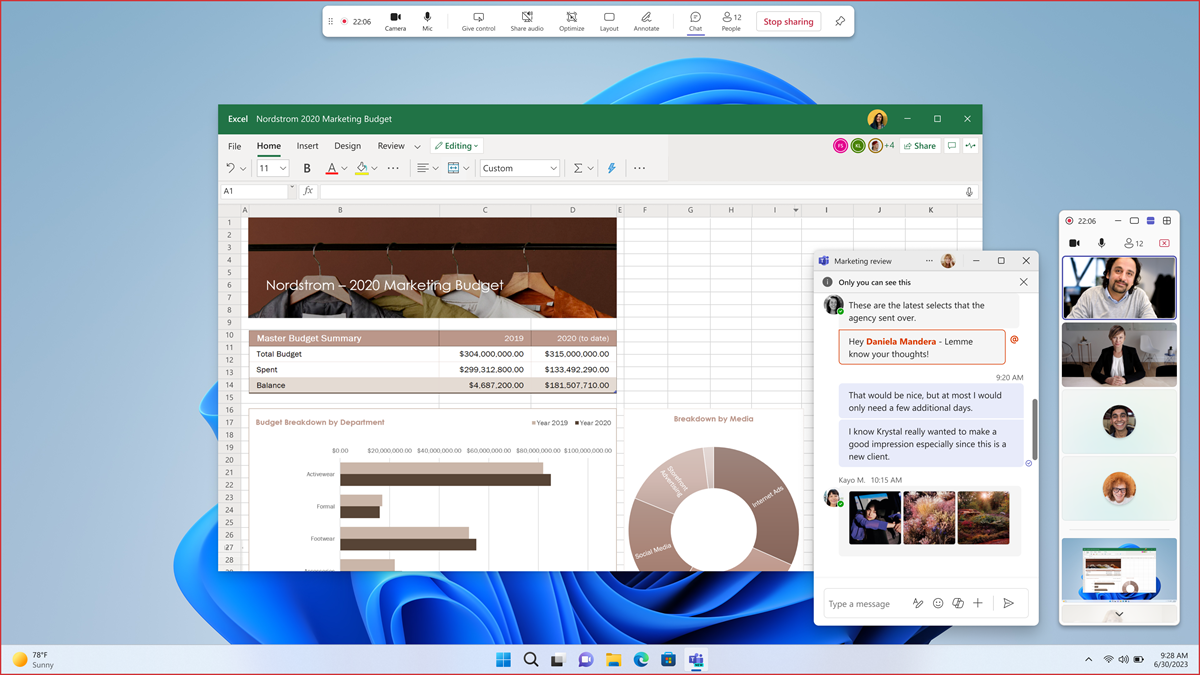
To present content in a meeting, select Share  in your meeting controls. Present your entire screen or a window.
Collaborate with others in real-time by live sharing a PowerPoint file, Excel file, or Whiteboard.
Presenter controls
While you present, use the presenter toolbar controls to keep your presentation engaging and running smoothly. The toolbar is only visible to the person presenting.
To bring the presenter toolbar onscreen, move your cursor to the top of your shared screen. This will drop down the toolbar.

The toolbar will stay in place momentarily while you adjust the controls.
|
Presenter control
|
How to use it
|
|
Drag handle 
|
Select and hold the toolbar drag handle to move the presenter toolbar. This will keep it from blocking important parts of your screen. Release the drag handle when you've placed it in the right area.
Tip: You can also move the toolbar by clicking and holding any area on the toolbar that isn't interactive (e.g., in between presenter controls) and dragging it.
|
|
Camera 
|
Select Camera to turn your camera on or off.
|
|
Mic 
|
Select Mic to mute or unmute yourself.
|
|
Give control 
|
Select Give control to let someone access and interact with your screen. While they have control, they can make selections, edits, and other modifications on your shared screen.
Warning: Only give control to people you trust. People with control can send commands that could affect your system or other apps. We've taken steps to prevent this but haven't tested every possible system customization.
|
|
Take back
|
If you gave someone control, select Take back when you're ready to take back control.
|
|
Share audio 
|
Select Share audio to stream audio from your device to meeting participants through Teams. All sound from your computer, including notifications, will be audible in the meeting.
Before you start sharing, select Share in your meeting controls and turn on the Include sound toggle. To learn more, see Share sound from your computer in a Teams meeting or live event.
|
|
Optimize 
|
Select Optimize to prevent choppiness or lag while sharing video content.
|
|
Layout 
|
Select Layout while your camera is turned on and you're sharing content. Then, choose a layout that helps make your presentation more engaging:
-
Content only: Participants will see your content and video feed.
-
Standout: This blocks your background and helps you stand out in your video feed.
-
Side-by-side: You and another participant will be placed side-by-side in the meeting window.
-
Reporter: This layout isolates you from your video feed and places you in front of the content you're sharing, like a reporter in front of a scene.
|
|
Annotate 
|
Select Annotate to lock what's on your screen while you and other people draw or add notes over the content.
To learn more, see Use annotation while sharing your screen in Microsoft Teams.
|
|
People 
|
While you present, a minimized meeting window will appear next to your shared content. Select People to see other people in your meeting.
|
|
Stop sharing
|
Select Stop sharing to stop sharing your screen and return to the main meeting window.
|
|
Pin 
|
Select Pin to keep the toolbar in the place you've positioned it.
|
Note: In Teams for web, you can share your screen using Google Chrome or the latest version of Microsoft Edge. Linux isn't currently supported.
Presenter meeting window
When you share content in a meeting, your meeting window will get smaller. Manage your mic and camera, see raised hands, and view your shared content from the minimized window.
Switch between views at the top of the meeting window to show more or fewer people, see only the active speaker, or minimize the window completely. To learn more, see Multitask during a Microsoft Teams meeting.
Take control
To take control while another person is sharing:
-
Select Request control. The person sharing can approve or deny your request.
-
Make selections, edits, and other modifications to the shared screen while you have control.
-
Select Release control to stop sharing control.
Turn off screensharing if your screen locks
-
In Teams, select Settings and more  > Settings
  > Privacy
  .
.
-
Turn the Turn off my camera and mic when my screen locks toggle on.
-
Restart Teams to activate this setting.
Present content from a Mac
Important: Please be aware of a known issue with the sharing experience affecting sharing indicators and control panels when using DisplayLink or other versions of a docking station on MacOS 14 and higher.
If you're using a Mac with the latest operating system, first give Teams permission to record your computer's screen before you present. Teams will prompt you to allow screen recording the first time you share your screen.
To allow screen recording and start presenting content in Teams:
-
Select Share in your meeting controls.
-
If Teams prompts you to allow screen recording, select Allow in the pop-up.
-
If you need to change screen recording permissions on your device, select Open System Settings in the pop-up.
-
Under Screen & System Audio Recording, make sure the Microsoft Teams toggle is turned on.
-
If you miss the prompt, go to Apple Menu > System Settings > Privacy & Security to access these settings.
-
Return to your meeting and select Allow on the pop-up.
-
Select Share again from your meeting controls.
-
Select a window or file to start sharing it.
Notes:
-
If you're using Teams on the web, make sure you also grant screen recording permission to your browser.
-
With the release of macOS Sequoia 15.2, you may notice prompts indicating that Teams is accessing the screen. This change is part of Apple's enhanced security measures to inform you when applications request screen recording permissions.
Zoom in to shared content
To get a better look at shared content, press and drag it to see different areas. To zoom in or out of shared content, use the buttons in the corner of your meeting window: [+] to zoom in and [-] to zoom out.
You can also try the following:
Note: Mac trackpads don't support zoom in meetings. If you're on a Mac, use another option. If you're using Linux, you can't share or take control of shared content.
Open shared content in new window
Expand your view by opening shared content in a separate window during your Teams meetings.
To open shared content:
-
Join your meeting from Teams for desktop.
-
When another presenter shares content in the meeting window, select Open in new window  from the meeting toolbar.
-
To minimize content, select X.